
Sourdough for beginners: a complete starter guide
10 min read
Sourdough has a reputation for being fussy. It is not. It is just bread made with a living culture instead of packet yeast, and a longer, colder rise so flavour can develop. If you can weigh ingredients accurately and follow a basic timeline, you can bake a good sourdough loaf in your home oven. This guide walks through the whole thing from zero — the kit you need, the words bakers use, the actual maths, and a realistic timeline for your first bake.
What sourdough actually is
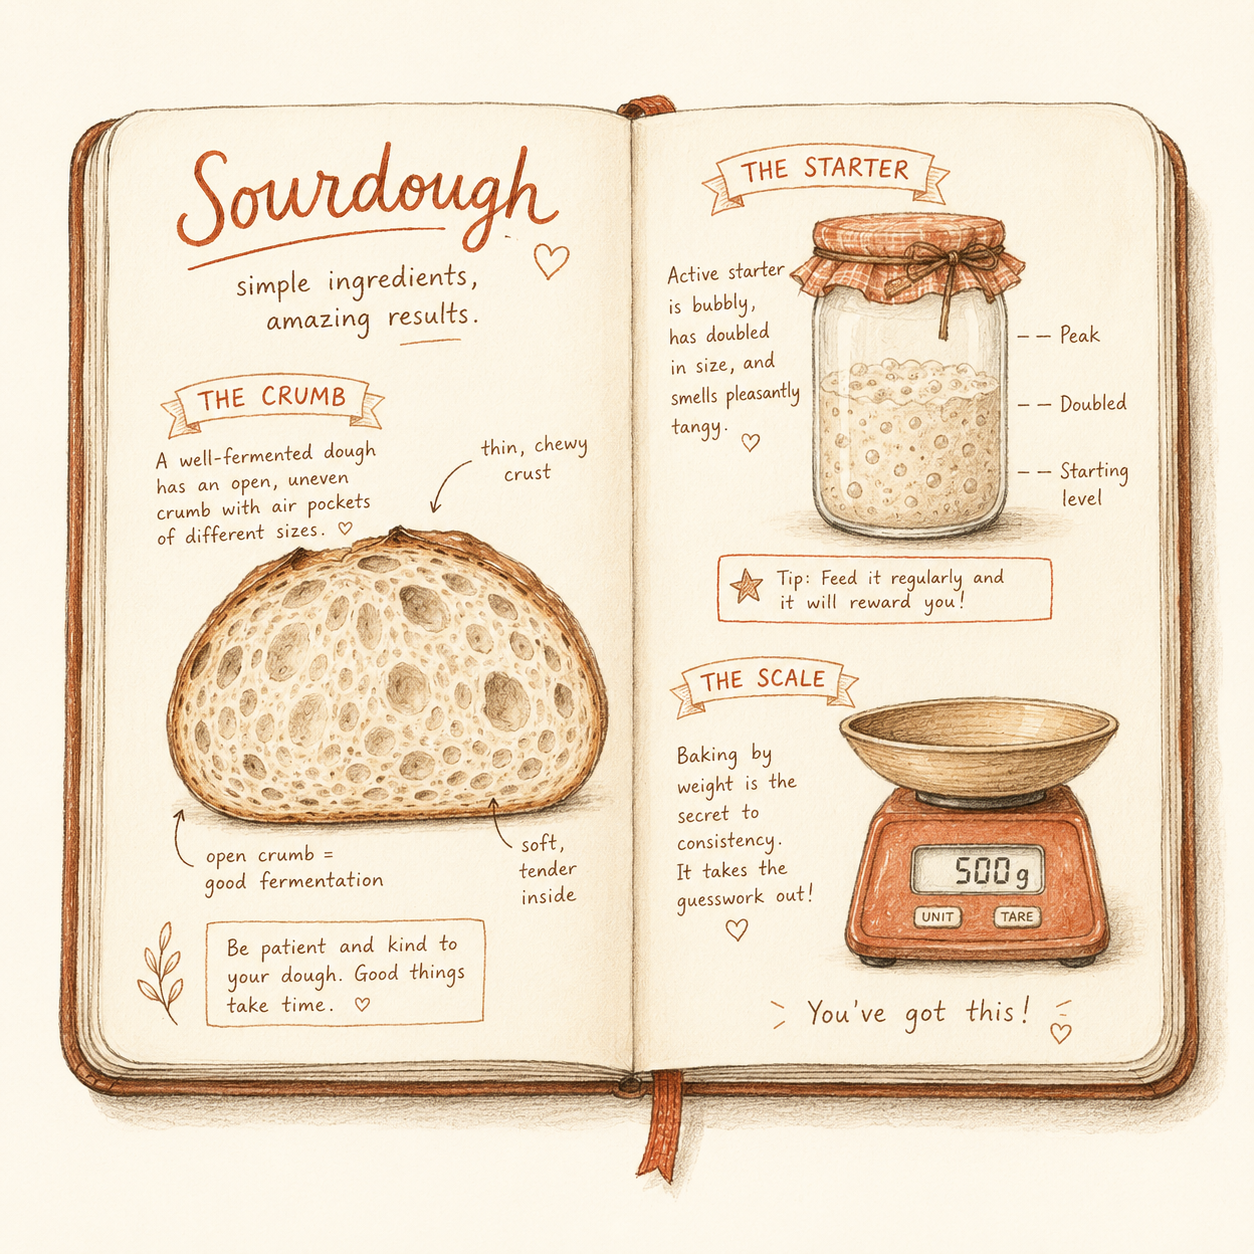
Sourdough is bread leavened by a starter: a paste of flour and water that you have left out long enough to attract wild yeast and bacteria from the air and the flour itself. The yeast produces gas (which makes the bread rise) and the bacteria produce lactic and acetic acid (which make it taste tangy and keep it fresh longer). It is the oldest method of making bread we have, and it is what your great-grandparents used before commercial yeast existed in packets.
The recipe is laughably short: flour, water, salt, starter. That is the whole ingredient list. The skill is in how you handle the dough and how long you let it ferment.
The kit you actually need
Sourdough is a low-equipment hobby that the internet tries very hard to turn into a high-equipment hobby. Here is the genuine minimum:
- A digital kitchen scale that reads to the gram. This is not optional. Sourdough is weighed, not measured by volume.
- A large mixing bowl — anything that holds 3 litres or so.
- A Dutch oven or cast-iron pot with a lid. The lid traps steam during the first half of the bake, which is what gives sourdough its crust.
- A piece of baking parchment to lower the dough into the hot pot.
- A jar for your starter. A 500ml jam jar is perfect.
Bannetons (proofing baskets), bench scrapers, lame blades and dough thermometers are all useful, but you do not need any of them to bake your first loaf. A clean tea towel inside a bowl, dusted with rice flour, works fine as a banneton. A serrated knife scores the loaf.
The terms you will see everywhere
Recipes assume you already know these. Here they are in plain English:
- Starter — your jar of live culture. Most home recipes use a 100% hydration starter, meaning equal parts flour and water by weight. See our guide on feeding a starter.
- Levain — a portion of starter fed specifically for a bake. You take some starter out of the jar, feed it fresh flour and water the night before, and use the whole lot in the dough the next day. Some recipes skip this and use starter straight from the jar.
- Hydration — the weight of water relative to flour, written as a percentage. 72% hydration means 72g of water per 100g of flour. See our hydration guide.
- Baker's percentage — the system bakers use to write recipes. Every ingredient is expressed as a percentage of flour weight. Read the full explanation.
- Autolyse — a rest of 30 to 60 minutes after mixing just flour and water, before adding starter and salt. Lets gluten begin developing on its own. Optional but helpful.
- Bulk fermentation — the first long rise at room temperature, usually 4 to 6 hours, when the dough roughly doubles. This is where most of the flavour develops.
- Stretch and fold — gentle strengthening of the dough during bulk fermentation. Full explanation here.
- Cold proof — an overnight rest in the fridge after shaping. Slows fermentation and develops flavour, makes the dough easier to score.
- Score — a deliberate cut on top of the loaf just before baking, so it expands in a controlled way. The cut becomes the "ear".
The maths, in one paragraph
For one 800g loaf at 72% hydration with about 20% starter and 2% salt: roughly 440g of flour, 320g of water, 90g of starter and 9g of salt. The percentages stay the same whatever size loaf you bake — you just multiply. This is what baker's percentage gives you, and it is what our calculator works out automatically. Tell it the loaf size and hydration, get exact gram weights.
A realistic first-bake timeline
Sourdough is not 20 hours of work, it is 20 hours of mostly waiting punctuated by 5 minutes of hands-on activity. Here is what a typical Saturday-bake looks like, starting Friday morning:
- Friday 8am: feed your starter. Equal parts starter, flour and water by weight.
- Friday 1pm: starter is bubbling and domed. Mix flour and water in a big bowl, cover, leave to autolyse for 30 minutes.
- Friday 1:30pm: add starter and salt. Mix in by pinching and folding for a couple of minutes.
- Friday 2–6pm: bulk fermentation. Do a set of stretch and folds at the 30, 60, 90 and 120-minute marks, then leave it alone.
- Friday 6pm: dough has risen by ~50–75%, looks domed, has bubbles. Tip out, shape into a tight boule, place seam-up in a banneton or tea-towel-lined bowl.
- Friday 6:30pm – Saturday 8am: cold proof in the fridge.
- Saturday 8am: preheat oven to 250°C with Dutch oven inside for 45–60 minutes.
- Saturday 9am: turn dough out onto parchment, score, lower into the hot Dutch oven, bake covered 20 minutes, uncovered 20–25.
- Saturday 10am: cool for at least an hour before slicing. The bread is still cooking inside while it cools.
What realistically goes wrong on a first bake
Most first sourdough loaves come out edible but flawed in one of a few predictable ways. None of them are disasters and none of them mean you should give up.
- Dense, tight crumb — almost always underproofing. The starter was not active enough, or bulk was too short, or your kitchen was cold. Next time, wait for visible domed rising.
- Pancake-flat loaf with no oven spring — usually overproofing, or weak shaping. Cut bulk shorter or shape tighter.
- Gummy, wet interior — undercooked. Add 5 minutes uncovered, or bake to an internal temperature of 96°C. Cool fully before cutting.
- Pale, soft crust — oven was not hot enough or you did not preheat the Dutch oven long enough.
- No "ear" — score deeper, at a steeper angle, and right before the loaf goes in the oven.
We have a fuller list in our common sourdough mistakes article.
Where to go next
If you do not have a starter yet, start there — it takes about a week. The day-by-day starter recipe will walk you through it. If you already have one, the classic white sourdough recipe is the canonical first bake.
And when you are ready to scale up, scale down, or experiment with hydration, the calculator will do the maths for you. No more guessing what 78% hydration means for a 600g loaf.
Beginner-friendly recipes
- 800g white sourdough at 70% hydration — easiest dough to handle
- 800g white sourdough at 72% hydration — the classic first bake
- 600g white sourdough at 72% hydration — smaller, fits any oven
- 800g 50/50 sourdough at 72% hydration — a bit more flavour