
Sourdough troubleshooting
Everything that commonly goes wrong with a sourdough, in one place. 12 starter problems and 12 dough and bake problems, each with what it looks like, why it happens, and the fix. Skim the headings until you find the one that matches yours.
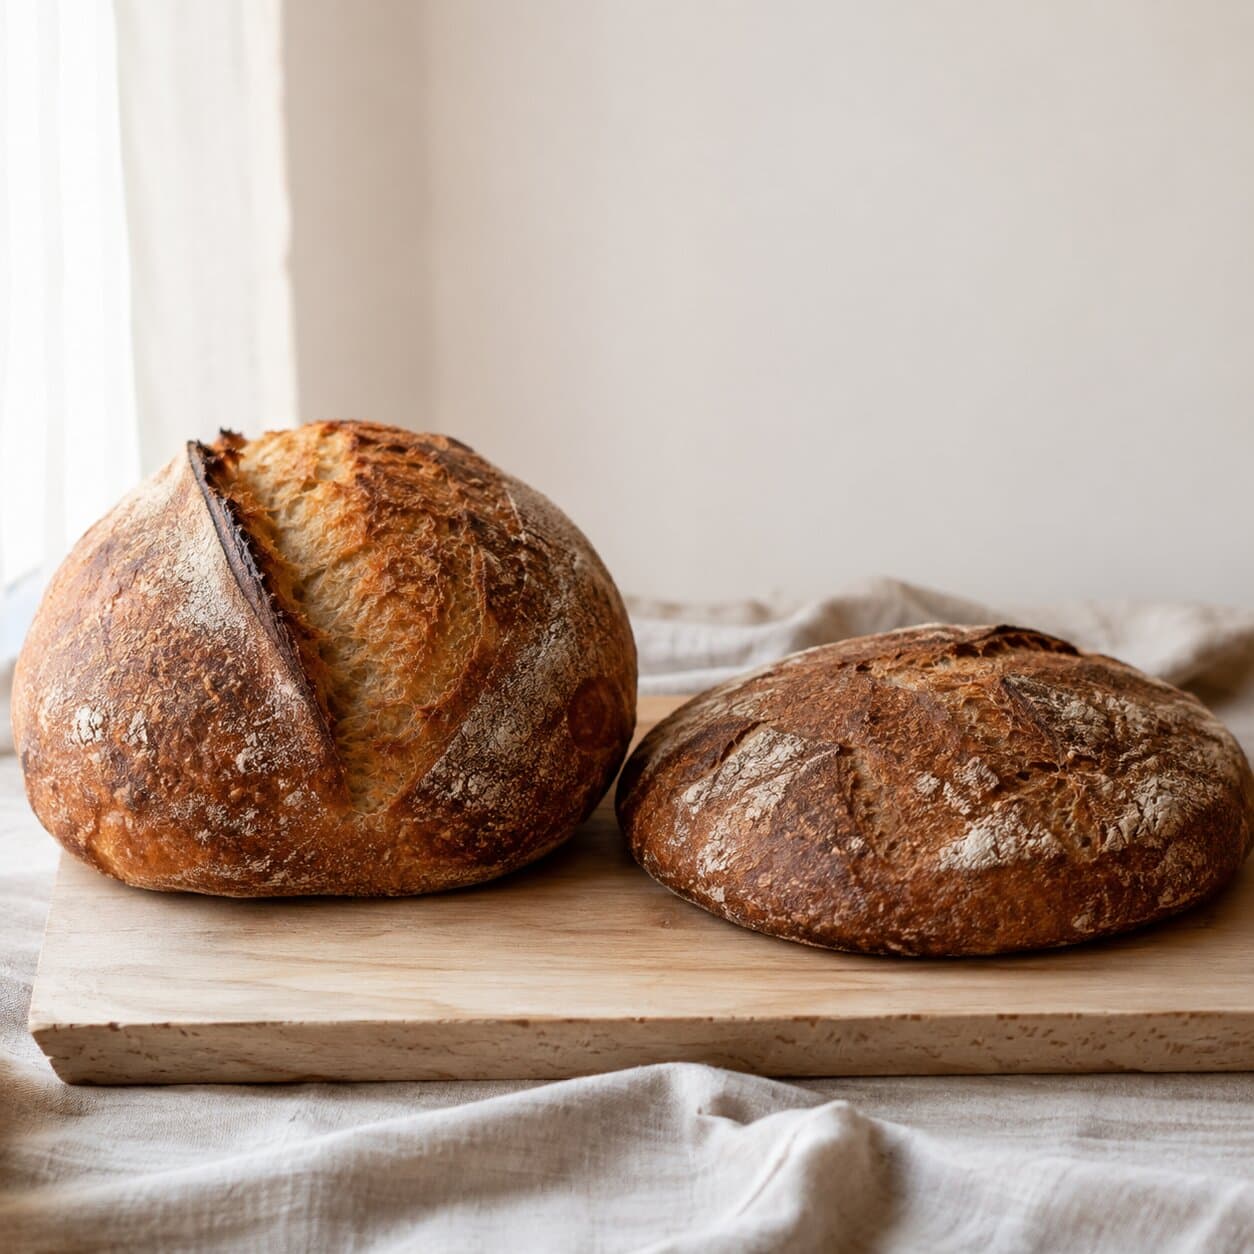
Starter problems
Most starter problems look alarming and are completely normal. Only one of the entries below, coloured growth, means the culture is genuinely beyond saving.
1.Starter is not bubbling after 3 days
- What it looks like
- Three days in, the jar looks much the same as the flour and water you mixed. No bubbles, no rise, and no smell beyond raw flour.
- Why it happens
- Normal for many starters. Wild yeast capture varies with the flour, the ambient temperature and a fair amount of luck. Cold kitchens slow everything down.
- The fix
- Keep up daily feeds for 7 to 10 days. Move the jar somewhere warmer, around 22 to 24°C, such as the top of the fridge or an oven with only the light on. Switch one feed to wholemeal or rye flour, which carry more wild yeast than white.
2.Starter doubled on day 2 then went flat
- What it looks like
- A dramatic rise in the first 48 hours, often with a slightly cheesy smell, then nothing at all for the next two or three days.
- Why it happens
- The leuconostoc bacteria phase. They produce gas quickly in the first 24 to 48 hours, then die off as the pH drops. The yeast and lactobacilli that will actually leaven your bread have not established yet.
- The fix
- Keep feeding daily. You will see real activity again around day 4 to 6. This stall is a normal stage rather than a failure, and it catches out almost everyone making their first starter.
3.Starter smells like acetone or nail polish remover
- What it looks like
- A sharp solvent smell when you open the jar, usually with the starter collapsed and a little liquid sitting on top.
- Why it happens
- Stressed yeast. The starter is hungry and has burned through its available food.
- The fix
- Feed twice a day instead of once, and try a richer ratio of 1:2:2, meaning one part starter to two parts flour and two parts water by weight. The smell will mellow within a couple of days.
4.Dark liquid pooling on top of the starter
- What it looks like
- A layer of grey or brown liquid across the surface, sometimes with the starter sunk beneath it.
- Why it happens
- Hooch, the alcohol produced when the yeast burns through its food.
- The fix
- Stir it back in if it is light brown, pour it off if it is dark. Then feed, and feed more frequently from now on. Hooch is harmless in itself but it is a reliable sign of underfeeding.
5.Pink, orange or fuzzy patches on the starter
- What it looks like
- Actual colour on or in the starter, or visible fuzzy growth. Clearly different from the beige and grey of a normal starter.
- Why it happens
- Bacterial or mould contamination. Healthy starters never produce colour, only smell.
- The fix
- Throw it out. Sterilise the jar with boiling water and start again with filtered water and a fresh bag of flour. This is the one starter problem that cannot be fed back to health.
6.Starter takes 12 hours or more to peak
- What it looks like
- It does rise and it does bubble, but the peak arrives late in the day when you were hoping to mix in the morning.
- Why it happens
- Either too cold, since at 18°C a starter takes roughly twice as long as at 22°C, or still establishing at under two weeks old, or simply underfed.
- The fix
- Move it somewhere warmer and try a couple of 1:2:2 feeds in a row. A mature starter at 22°C should double in 4 to 6 hours.
7.Starter looks healthy but the bread does not rise
- What it looks like
- A bubbly, active-looking starter that still produces a dense, flat loaf with almost no oven spring.
- Why it happens
- Usually a timing problem rather than a starter problem. Starter used after it has peaked and begun to collapse has already spent most of its leavening power.
- The fix
- Use it at peak: domed on top, full of bubbles, just starting to flatten. The float test is the quick check, since a spoonful should float in water when the starter is ready. If it sinks, feed it and wait.
8.A dry crust forming on top of the starter
- What it looks like
- A firm skin across the surface, sometimes cracked, with normal wet starter underneath.
- Why it happens
- The starter is drying out, because the jar is too loosely covered or it is sitting in a draught.
- The fix
- Scrape the crust off, stir what is left, and feed. Cover with a loose lid or a cloth that lets gas escape but keeps moisture in. Do not seal it airtight, because the pressure from the CO2 can crack the jar.
9.Starter has separated into liquid below and dry above
- What it looks like
- Distinct layers: a dry or crusted top, a normal middle, and watery liquid collecting at the bottom of the jar.
- Why it happens
- Underfed and partly drying out at the same time, so hooch and crusting are happening together.
- The fix
- Stir vigorously to re-incorporate everything, discard down to a tablespoon, and feed at 1:5:5. Cover it more snugly. It will recover.
10.Forgot to feed the starter for a week
- What it looks like
- A flat, sharp-smelling starter with a good depth of hooch sitting on top.
- Why it happens
- It ran out of food and went dormant. Almost always recoverable.
- The fix
- Discard down to a tablespoon and feed 1:5:5, for example 10g of starter with 50g of flour and 50g of water. It will be sluggish on the first feed but should bounce back within 2 to 3 daily feeds.
11.Starter is sluggish after coming out of the fridge
- What it looks like
- A starter kept in the fridge between bakes that rises weakly, or very slowly, on its first feed back at room temperature.
- Why it happens
- Cold storage slows the culture right down. One feed is rarely enough to bring a fridge-cold starter back to full strength.
- The fix
- You do not need daily feeding to bake at weekends. Keep a mature starter in the fridge and feed it once a week. Before a bake, give it one or two feeds at room temperature rather than one, and mix when it actually peaks rather than on a schedule.
12.Not sure whether the starter is mature enough to bake with
- What it looks like
- It rises and it smells right, but you are not confident it is strong enough to carry a loaf.
- Why it happens
- Maturity is a threshold rather than a date. Most starters cross it somewhere between day 7 and day 14, and a slow one is not a failed one.
- The fix
- Look for three signs together: it reliably doubles in 4 to 6 hours at room temperature, it has bubbles throughout rather than only on top, and a spoonful floats in water. If it hits all three, it is ready.
The short version, for starters
A healthy starter is bubbly, smells pleasantly sour, doubles within 4 to 6 hours of a feed, and floats in water. Nearly everything else is solved by feeding more often, keeping it warmer, or waiting a few more days. The only real emergency is mould or coloured streaks, and in that case you start over.
Dough and bake problems
These are the problems you only discover once the loaf is out of the oven, which is what makes them frustrating. Most trace back to fermentation or shaping rather than the bake itself.
13.Dense, tight crumb
- What it looks like
- The loaf is heavy, the slice has very small holes, and it feels gummy or doughy near the centre even when it is cooked through.
- Why it happens
- Underproofing, almost always. The starter was not active enough at mix time, or bulk was too short, or the kitchen was colder than you thought.
- The fix
- Use starter at peak, meaning domed, bubbly and just starting to flatten. Watch the dough rather than the clock: bulk is done when the dough has risen by 50 to 75%, looks domed, and shows bubbles on the surface and the sides of the bowl. In a cold kitchen, bulk can take 8 hours or more.
14.Pancake-flat loaf, no oven spring
- What it looks like
- Turned out of the banneton, the dough spreads sideways instead of holding its shape, and it barely lifts in the oven.
- Why it happens
- Overproofing or weak shaping. The gluten has either been broken down by fermentation or was never strong enough to hold structure.
- The fix
- Cut bulk shorter and pull the dough before it looks fully risen. Shape tighter: gather it into a ball with real surface tension, rest 10 minutes, then final-shape with confidence. Use a banneton or a tea-towel-lined bowl for the cold proof, not a flat surface.
15.Gummy, wet interior under a good-looking crust
- What it looks like
- The crust looks right, but the crumb is sticky and pasty when you slice in, and it feels underdone even after a full bake.
- Why it happens
- Undercooked, or sliced too early. Sourdough carries on cooking for an hour after it comes out of the oven, and cutting a warm loaf releases the steam that should have set the crumb.
- The fix
- Bake longer uncovered, another 5 to 10 minutes, ideally to an internal temperature of 96°C. Then cool fully on a wire rack for at least 60 minutes. Two hours is better.
16.Pale, soft, chewy crust
- What it looks like
- The crust is golden-blond rather than deep mahogany, and it is chewy instead of crisp.
- Why it happens
- Oven not hot enough, Dutch oven not preheated long enough, or the lid left on too long. The browning needs both heat and steam at the right times.
- The fix
- Preheat at 250°C for at least 45 minutes before the loaf goes in. Bake covered for 20 minutes, then uncovered for 20 to 25 minutes. The loaf should be deep mahogany, almost on the edge of looking burnt, before you take it out.
17.Burnt bottom but pale top
- What it looks like
- A dark, hard base, sometimes close to black, while the top of the loaf is still barely coloured.
- Why it happens
- Direct contact with the hot Dutch oven base is overcooking the bottom crust before the top has caught up.
- The fix
- Put a baking sheet on the rack below the Dutch oven to deflect heat, or bake on a layer of parchment with a light cornmeal dusting. With a black Dutch oven, which absorbs more heat, consider dropping the temperature by 10°C and baking a little longer.
18.No ear, the score stayed shut
- What it looks like
- The loaf comes out the right shape but the score line stayed exactly where you put it, with no lifted, flared ridge on top.
- Why it happens
- The score was too shallow, at the wrong angle, or made too long before baking. The ear forms when the dough bursts open along the score during oven spring.
- The fix
- Score with the blade at about 30° to the surface, cutting around 1cm deep, using a fresh sharp blade. Score immediately before the loaf goes into the hot oven, not minutes earlier.
19.Sticky, unworkable dough
- What it looks like
- The dough is so wet you cannot shape it without it sticking to everything, and stretch and folds turn into a mess.
- Why it happens
- Hydration too high for the flour you are using, weak low-protein flour, or not enough gluten development early on.
- The fix
- Use bread flour at 12% protein or higher, and wet your hands before handling, because wet hands do not stick. For wholemeal, drop the hydration by about 3%, since wholemeal absorbs more water. Do the first stretch and fold 20 minutes after mixing while the dough is still firm.
20.Loaf is too sour
- What it looks like
- Aggressively tangy, close to vinegary, with the sourness crowding out the wheat flavour.
- Why it happens
- A long cold proof, a stiffer starter, or both. Sourness comes from acetic acid produced during cold fermentation.
- The fix
- Shorten the cold proof to 8 to 12 hours. Use a wetter, more recently fed starter, and reduce the overall fermentation time.
21.Loaf is not sour at all
- What it looks like
- Pleasant but plain. It reads as ordinary bread, without the tang that made you want to bake sourdough in the first place.
- Why it happens
- A short cold proof, a very active freshly fed starter, or both.
- The fix
- Extend the cold proof to 24 to 36 hours. Use a slightly older, less active starter at mix time, and keep the dough cooler through bulk.
22.Loaf split along the side or bottom, not where you scored
- What it looks like
- The score you made on top stayed closed and the bread burst open along one side or around the base instead.
- Why it happens
- The most fragile spot was not where you scored. Often it is the seam left from shaping.
- The fix
- Score deeper and at a clearer angle, and make sure the shaping seam is on the bottom of the loaf as it goes into the Dutch oven. One decisive cut beats three timid ones.
23.Crumb is tight along the bottom, open at the top
- What it looks like
- A clear gradient through the slice: airy near the top crust, dense and close-textured towards the base.
- Why it happens
- The centre was underproofed, or shaping was loose at the base so the structure collapsed downward.
- The fix
- Extend bulk slightly so fermentation is more even throughout. When shaping, build extra tension at the bottom by tucking under as you roll, and give the cold proof at least 8 hours.
24.Big tunnels or one huge hole in the crumb
- What it looks like
- One or two cavernous holes sitting just under the top crust, with otherwise reasonable crumb below them.
- Why it happens
- A trapped air pocket, usually from rough shaping or uneven fermentation through the dough.
- The fix
- Degas gently as you pre-shape, then build even tension on the final shape. Do not roll the dough into a cigar. Fold and tuck instead.
The single biggest fix
Look at the dough problems together and most are a version of the same root issue: judging fermentation by time instead of by what the dough is actually doing. A recipe that says "bulk for 4 hours" is assuming a 22°C kitchen and a starter at peak. Yours might be 18°C with a sluggish one, in which case 4 hours is nowhere near enough. The single biggest improvement you can make to your sourdough is to stop watching the clock and start watching the dough.
When timing genuinely matters, such as planning around a weekend bake, the timeline calculator will adjust the schedule for your kitchen temperature and flour type. The dough-state cues in the entries above still trump the calculated times whenever the two disagree.
Related reading
- How to make a starter from scratch, a day-by-day plan
- Feeding a sourdough starter, the maintenance routine
- How to tell when sourdough is proofed, reading the dough
- Sourdough for beginners, the complete starter guide
- Sourdough hydration, choosing the right number
- Glossary, what every sourdough term means
Once the starter is reliable and the dough is behaving, the calculator will give you exact ingredient weights for any size or hydration.