
The Accidental Bassinage Loaf
How getting it catastrophically wrong produced the best crumb of my life
By Ashleigh Stent · June 2026 · 1 loaf · Two-stage hydration · 6 min read

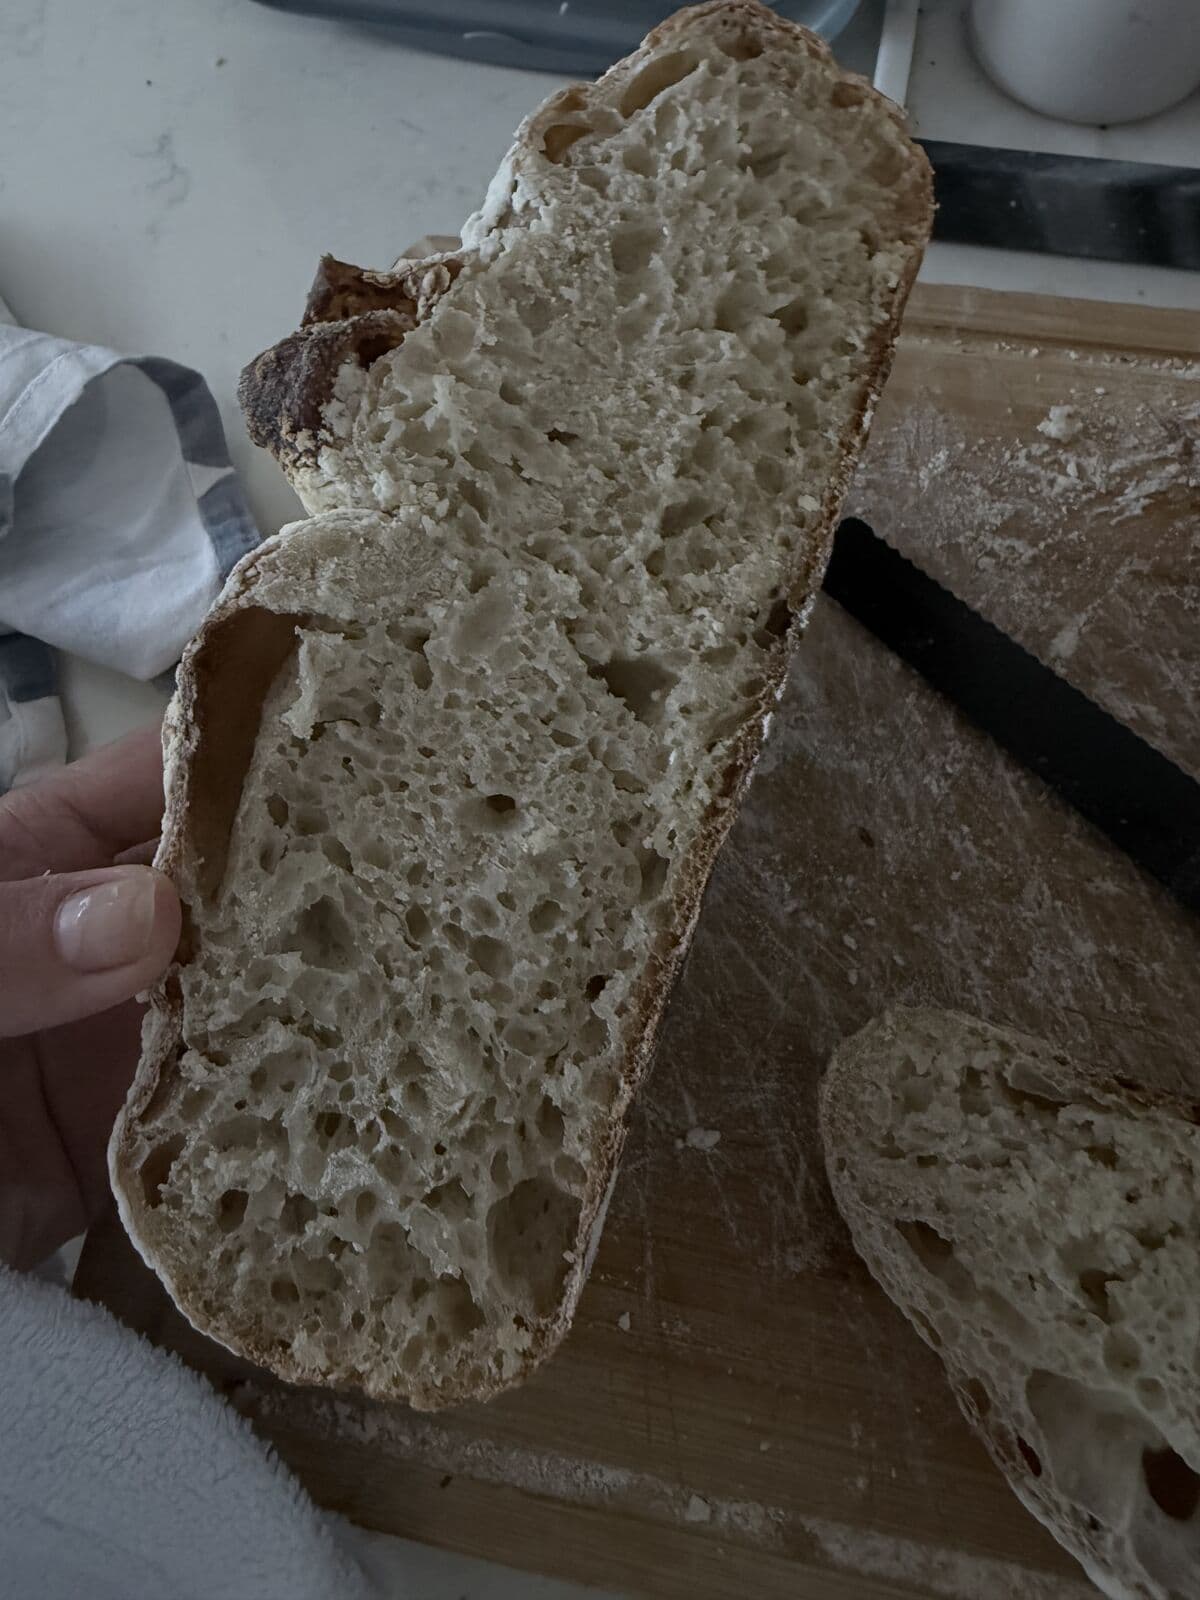
The crumb that started it all. Open, irregular, lacey, from a dough that looked like soup three hours earlier.
There is a particular kind of panic that sets in when you realise, three stretch and folds into a bake, that your dough is basically soup. Not slack, not sticky. Soup. The kind you could pour into a glass.
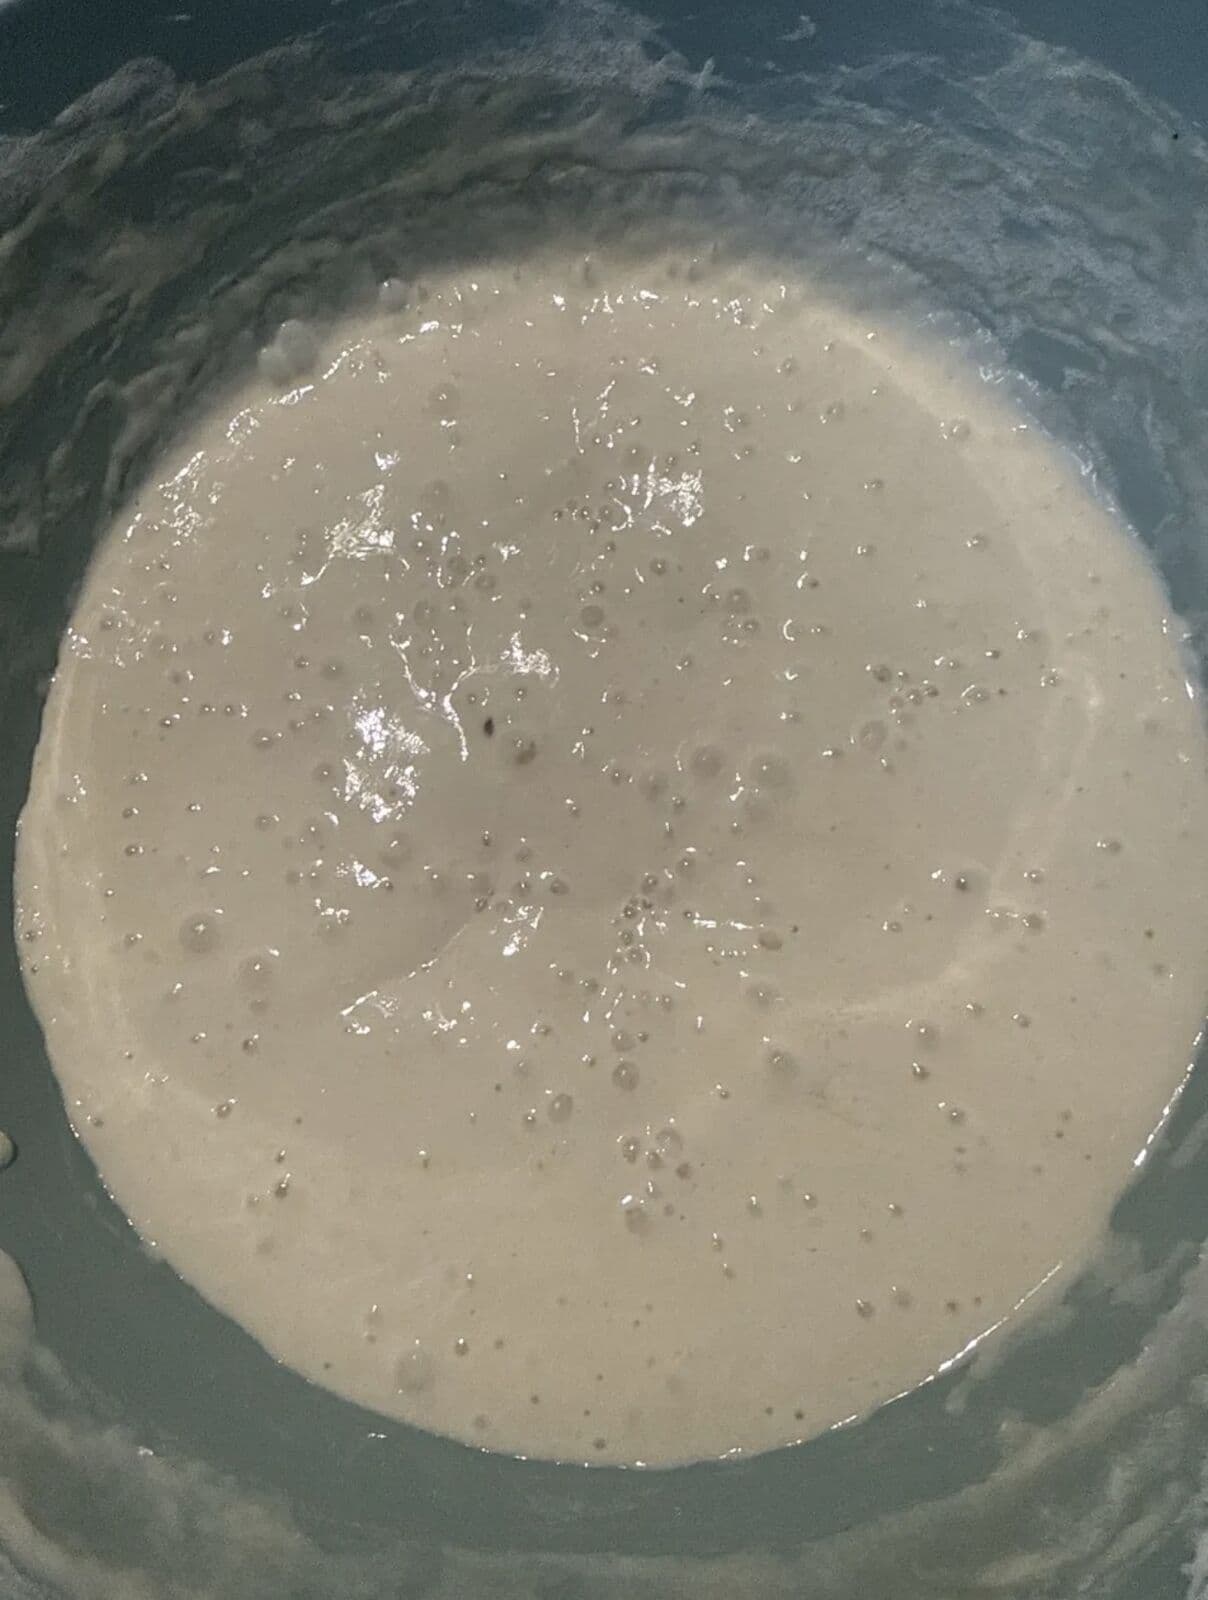
That is exactly where I found myself on a Wednesday morning, staring into a bowl of what was supposed to be sourdough and wondering whether I had somehow managed to make a starter smoothie instead. I had lost track of my water measurement somewhere between the autolyse and the levain addition. The scales had been tared wrong, or not at all, or possibly I had simply stopped paying attention. The dough weighed 953g. It should have weighed around 760g. There was roughly 195g of extra water sloshing around in there, and no amount of stretch and fold was going to fix it.
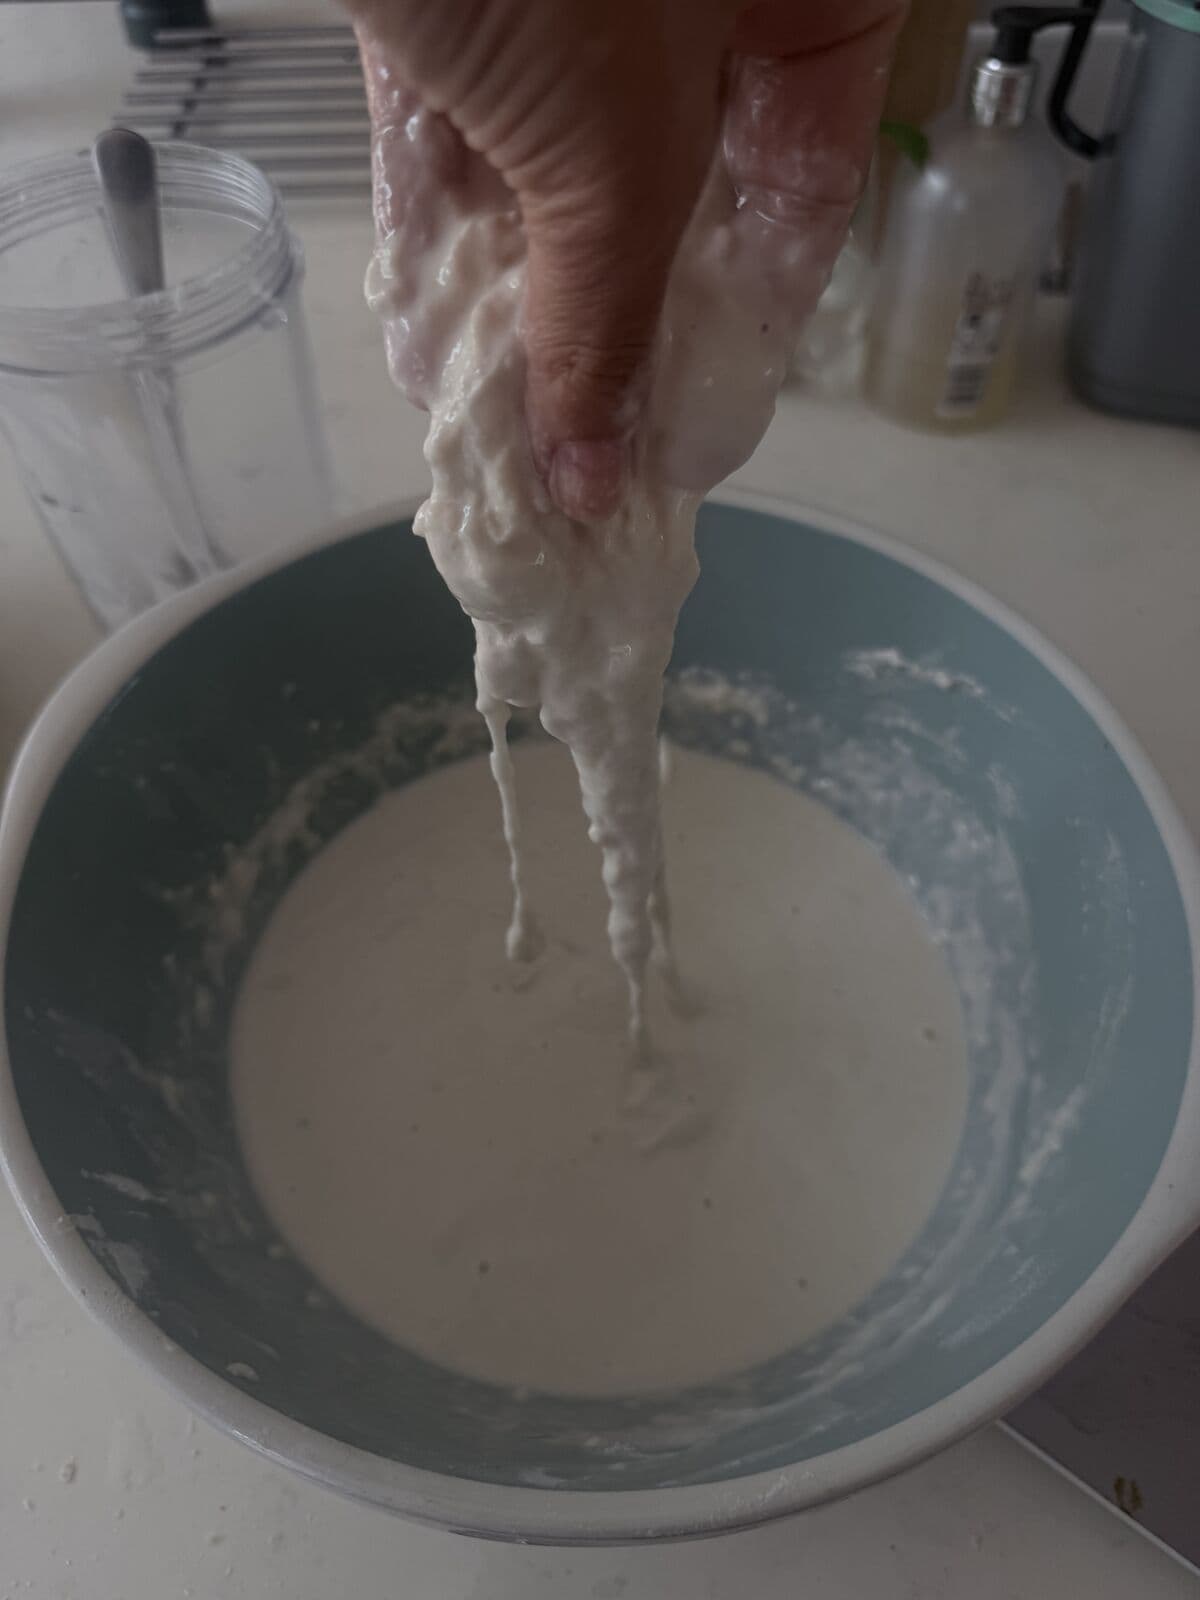
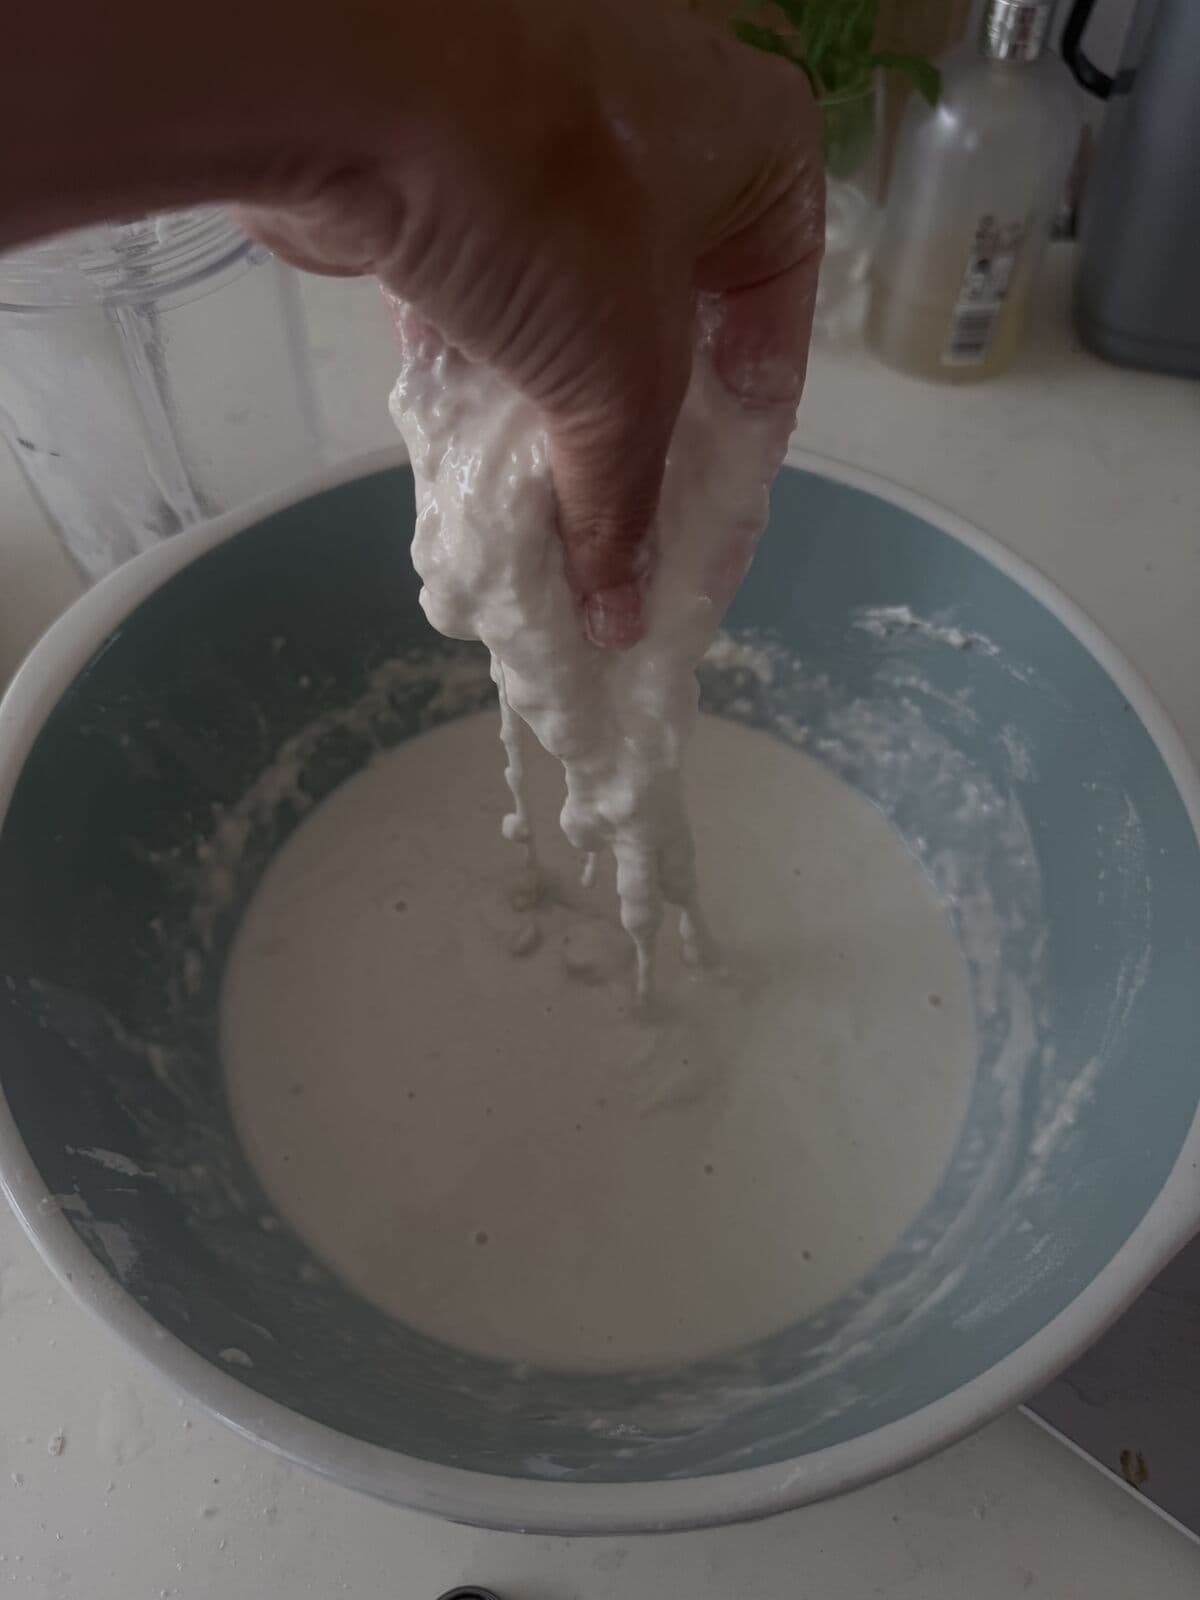
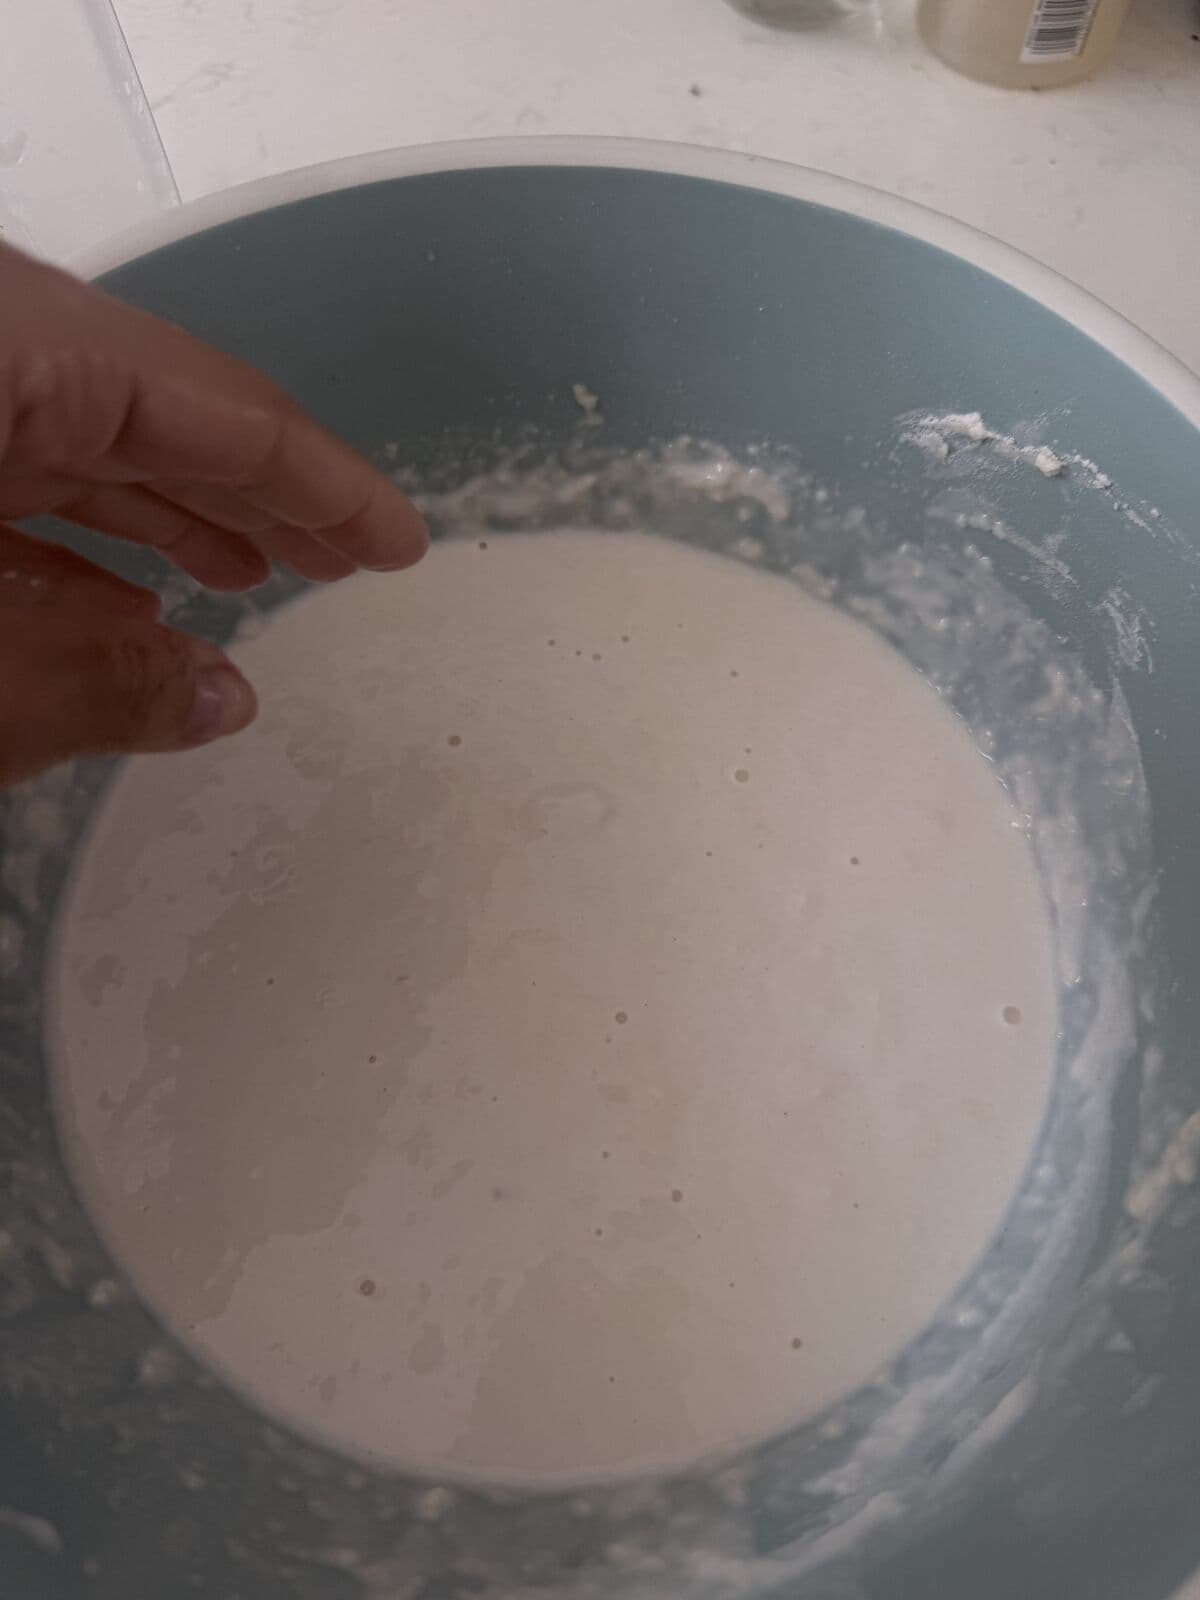
What happened next was equal parts desperation and instinct. I weighed out 195g of flour and squeezed it through the batter with my bare hands, breaking down the long wet gluten strands and forcing the flour into every pocket of the dough until it came together into something that actually resembled bread dough. One final set of stretch and folds, a bulk ferment, an overnight cold prove, and the next morning I pulled out a loaf with the most open, lacey, irregular crumb I had ever produced in my own kitchen.
I have baked this method twice now. Both times: exceptional crumb. Both times involving varying degrees of chaos. I am increasingly convinced the chaos is the point.
What Actually Happened (The Science Bit)
What I stumbled into is a variation on a technique called bassinage. In its traditional form, bassinage involves holding back a portion of water and adding it gradually at the end of mixing, once the gluten is already developed. The idea is that gluten develops more efficiently at moderate hydration, and that final water addition pushes the dough to a higher hydration without sacrificing structure.
What I did was essentially bassinage in reverse. I mixed the dough at extreme hydration, something close to 120% if you count the levain water, let it develop across several stretch and fold sets, then brought it back down to around 68% by incorporating flour at the end.
The result is a dough that has been worked at two very different hydration levels. At the high hydration stage, the gluten strands stretch almost freely, extending further than they would in a stiffer dough. When you then squeeze flour through that extended network by hand, you are not just lowering the hydration. You are mechanically reknitting and realigning those strands into a tighter, more intricate matrix. It is similar in effect to lamination, where bakers stretch dough thin on a wet surface to reorganise the gluten network, but arrived at by a completely different route.
The practical result is a gluten structure with more complexity and resilience than a standard mix produces. Strong enough to trap gas effectively, flexible enough to open up dramatically in the oven. In both my bakes, the dough survived overproofing, rough handling, and a banneton-sticking incident that left me with a misshapen disc of flour-dusted despair. Both times it baked into something extraordinary.
The Shaping Incident
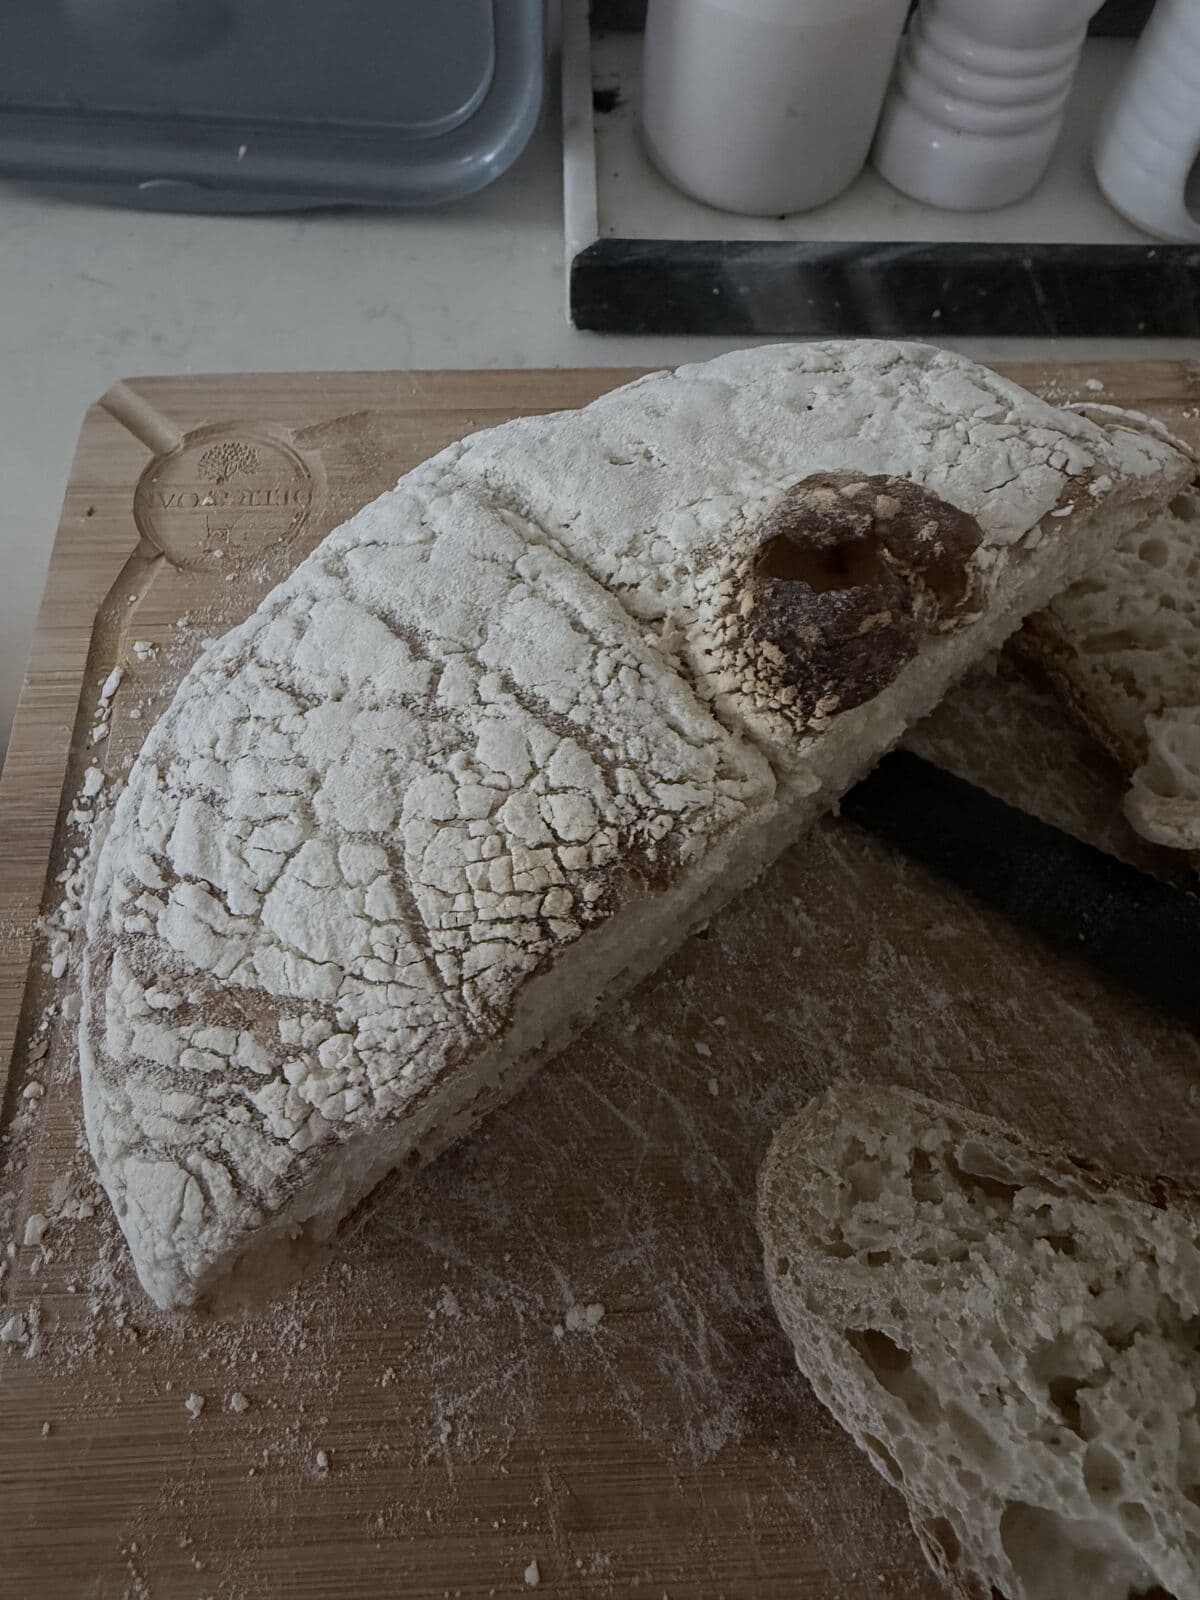
I will be honest about the second bake. The dough overproofed slightly on the counter after an overnight cold retard, and when I tried to transfer it for the pre-shape it stuck dramatically to the tea towel and spread into a flat, sticky disc.

I shaped it quickly, got it into the banneton, and straight into the fridge. The cold firmed it up. It stuck to the banneton on the way out. It looked terrible going into the Dutch oven. What came out was spectacular. That is what a strong gluten network buys you.
The Cold Dutch Oven
One other deliberate deviation from standard practice: I bake this loaf in a cold Dutch oven, placed into a cold oven, and brought up to temperature together with the dough inside.
Most sourdough recipes instruct you to preheat the Dutch oven until it is searingly hot before loading the dough. The logic is sound: a hot vessel creates an immediate burst of steam from the dough surface, driving rapid oven spring before the crust sets.
The cold Dutch oven does something different. The heat builds gradually as the oven climbs to temperature, giving the dough a longer window of extensibility before the crust locks in. The result is a slower, more sustained spring, and a crust that blisters and crackles rather than setting hard and smooth.

The Recipe in Brief
The Accidental Bassinage Loaf - 1 loaf
Stage 1: Mix 375g strong white bread flour with 445g water, 100 to 145g levain, and 8g salt. The dough will look like batter. Do 3 sets of stretch and folds, 30 minutes apart.
Stage 2: Weigh the dough. It should be around 953g. Add 195g flour and work it through by hand until fully incorporated. Do 3 more sets of stretch and folds.
Bulk ferment until 50 to 75% rise, roughly 2 to 3 hours at UK room temperature.
Shape and place seam-side up into a well-floured banneton. Cold prove overnight, minimum 8 hours.
Bake: Cold Dutch oven, cold oven, 220°C. Lid on 25 minutes from when the oven reaches temperature. Lid off 20 to 25 minutes until deep golden brown. Cool 1 hour before cutting.
What I Would Tell My Past Self
Do not add extra flour when the dough seems too wet. Get it on the scales, work out the discrepancy, and correct it deliberately in Stage 2. The high hydration phase is not a mistake to be fixed as quickly as possible. It is where the gluten does its best work.
The loaf that comes out the other side will be better than anything you made when you thought you had it under control.

Other recipes and reading
All measurements in grams. Developed across two bakes, June 2026. To work out the stage weights for a different loaf size, open the calculator.